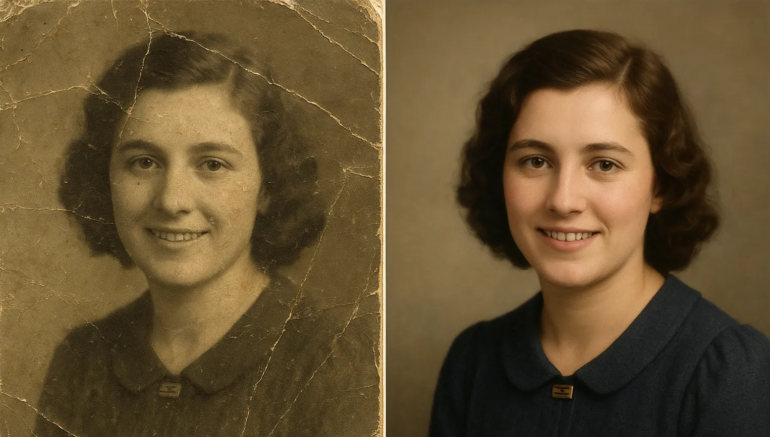
Photos hold our most cherished memories, but over time, they can fade, tear, or lose their original charm. A photograph restoration service can bring even damaged images back to life. If it’s a family portrait, vacation snapshot, or historic photo, restoration preserves your precious memories. Simple fixes like color correction, scratch removal, and detail improvement make a big difference. In this guide, we share 10 practical tips for achieving beautiful restoration results every time.
Using a photograph restoration service doesn’t have to be complicated or expensive. Following key steps secure your photos look natural and vibrant. Preparing images properly and choosing the right tools greatly improves results. These tips make the process easy for beginners and experienced editors alike. With attention and care, your old photos can regain their original charm and shine. Let’s explore how to bring your memories back to life beautifully.
Start with High-Quality Scans

Starting with high-quality scans is the first step to successful photo restoration. A clear scan takes every detail of the original photo. Blurry or low-resolution images make it harder to fix damage accurately. Use a reliable scanner set to at least 600 DPI for best results. Avoid taking photos with a phone camera, as they can distort colors and sharpness. The better your scan, the easier it is to restore.
When scanning, make sure the photo surface is clean and dust-free. Gently wipe it with a soft cloth to prevent marks. Scan in color mode, even for black-and-white photos, to keep fine shades intact. Save your files in TIFF or PNG format to preserve image quality. Keep a copy of the original scan before making any edits. This secure you always have a backup of the untouched photo.
Repair Visible Damage First
Before adjusting colors or lighting, always fix visible damage first. Scratches, stains, and tears can distract from the photo’s true beauty. Start by zooming in to identify problem areas that need repair. Use healing or clone tools to gently remove imperfections. Be patient and work in small sections for better control.
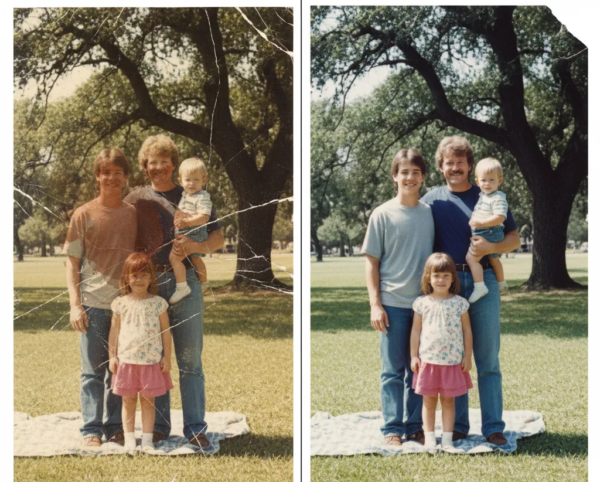
When repairing damage, match nearby textures and tones for a natural look. Avoid over-blending, as it can make details appear flat. Take breaks to check your progress and prevent over-editing. If damage is severe, restore important areas like faces or clothing first. Keep the original copy safe in case you need to start over. Careful damage repair helps your photograph restoration service deliver realistic and beautiful results.
Balance Colors for a Natural Look
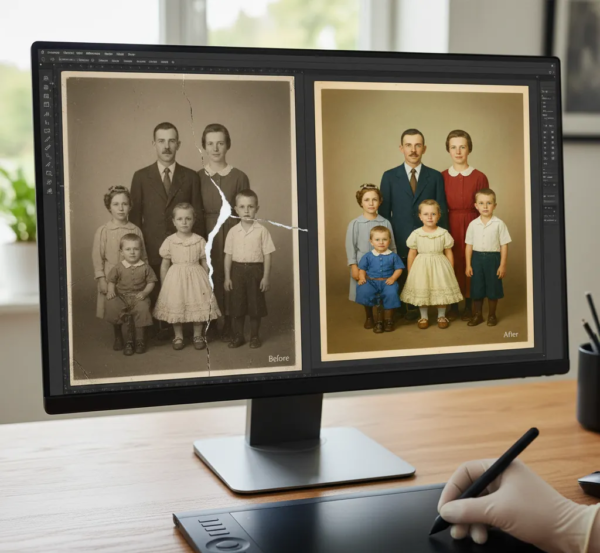
Color balance plays a big role in bringing old photos back to life. Faded colors can make images look dull or lifeless. Start by adjusting white balance to correct yellow or blue tones. Use gentle color correction to restore natural skin tones and clothing shades. Always compare your edit to the original to keep it authentic.
Avoid using strong filters or oversaturated tones when restoring photos. Fine changes often create the most realistic results. Adjust contrast and brightness to highlight important details and improve depth. Make sure the background and subject blend smoothly in tone. Check the photo under different lighting or screen settings before saving. With balanced colors, your photograph restoration service can produce timeless and natural-looking images.
Use Gentle Retouching Techniques
When restoring old photos, less is often more. Gentle retouching keeps the image natural and true to its original form. Avoid heavy smoothing or strong filters that erase important details. Focus on small imperfections like wrinkles, dust, or minor spots instead. Use light touch-up tools to soften flaws while keeping texture intact.

Work slowly and zoom in to check every detail carefully. Over-editing can make the photo look unrealistic or overly polished. Adjust facial features, clothing, and background only when truly needed. Try using low-opacity brushes for fine and controlled edits. Review your progress often to maintain a natural balance throughout. Gentle retouching ensures your photograph restoration service delivers clean, authentic, and emotionally meaningful results.
Focus on Lighting and Contrast
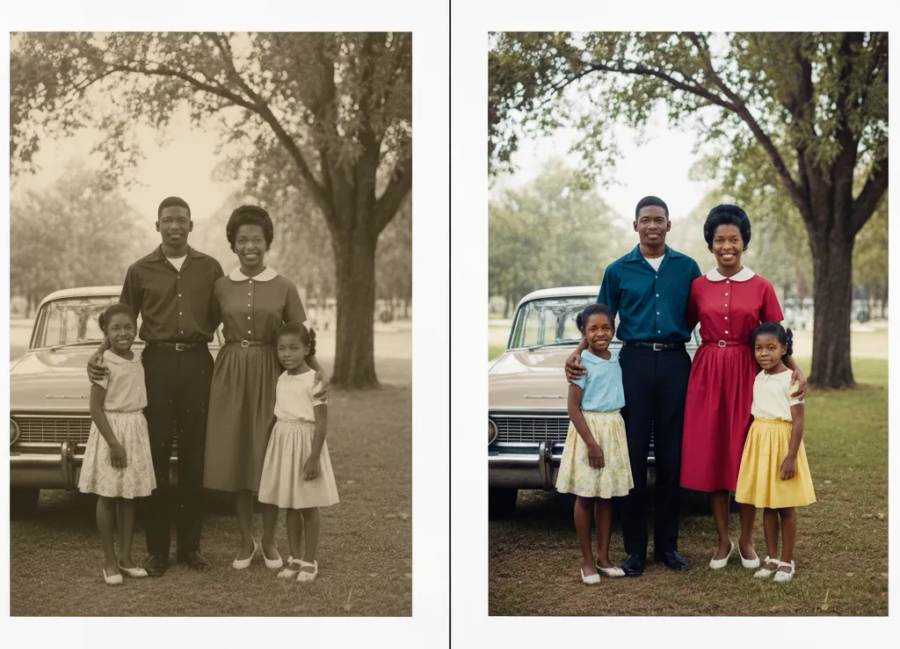
Lighting and contrast can completely change how a restored photo feels. Start by adjusting brightness to reveal hidden details in darker areas. Avoid making the image too radiant, as it can wash out important tones. Increase contrast slightly to make features like faces and clothing stand out.
Use shadows and highlights to improve the natural look of the photo. Too much contrast can make images appear harsh or unrealistic. Test small changes until you find a pleasing balance. Always review your edits on different screens to ensure consistency. Try to keep light transitions smooth and soft for a timeless result.
Remove Dust and Noise Carefully
Old photos often collect dust, scratches, and digital noise after scanning. Removing these imperfections helps improve image clarity and overall quality. Use spot healing or clone tools to clean small dust marks carefully. Work slowly and zoom in to avoid removing important details. Keep textures natural while minimizing visible flaws for a smoother look.
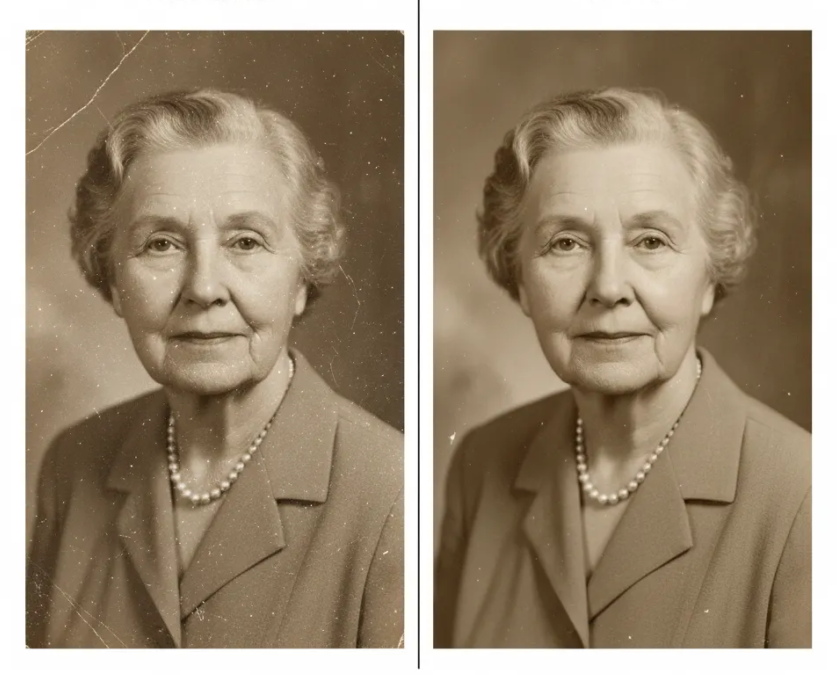
Be cautious not to overuse noise reduction filters. Too much noise reduction makes the photo appear blurry or artificial. Focus on preserving fine details like hair, fabric, and facial features. Clean up the background gently to keep attention on the main subject. Compare your edited version with the original to check for consistency. With patience and precision, your photograph restoration service can deliver clean, natural, and professional results.
Improve Details with Precision

Improving details gives your restored photo a sharper and more defined appearance. Focus on improving key areas like eyes, hair, and clothing textures. Use sharpening tools carefully to bring out small details without adding grain. Zoom in to fine-tune specific parts of the image for better control.
Pay special attention to edges and fine lines to maintain depth and clarity. Fine adjustments often produce the best, most realistic results. Work in layers so you can compare before and after changes easily. Always check the overall balance to secure every detail fits naturally. Take your time when improving delicate areas like faces or hands.
Keep the Original Copy Safe
Before making any edits, always keep a copy of the original photo. This protects your work and allows you to start over if needed. Scanning and saving a high-resolution version secures you never lose the untouched image. Store it in a safe folder or external drive for easy access. Working on a duplicate file helps you edit freely without risk.

Keep your files organized and labeled for future reference. If you restore multiple versions, name them clearly to avoid confusion. Regularly back up your photos to cloud storage or another device. This protects your work from accidental loss or damage. Never overwrite the original file, even when the project feels complete. By keeping the original copy safe, your photograph restoration service maintains reliability, professionalism, and long-term quality.
Check the Image in Different Light Settings

Lighting can change how a restored photo appears on different screens or prints. Always check your edited photo under various light settings. View it on both radiant and dim screens to secure colors look natural. Soft lighting helps you notice narrow issues that strong light might hide. Comparing under different conditions helps balance tones.
When printing, test small samples before finalizing the image. Printed colors may appear darker or lighter than on screen. Adjust brightness and contrast if needed for the best match. Take time to review your photo in daylight and indoor lighting as well. Doing this helps prevent color shifts and tone inconsistencies. By testing under multiple light settings, your photograph restoration service delivers reliable, high-quality results every time.
Work with a Professional When Needed
A skilled photo restorer understands how to fix heavy damage without losing important details. They can restore color, repair cracks, and improve clarity with advanced tools. Professionals also know how to keep the photo’s original feel and character. Choosing expert help ensures your precious memories are restored with quality and care.
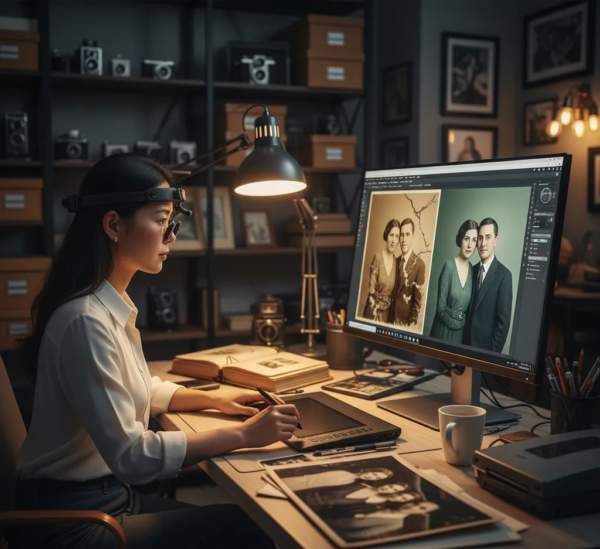
Hiring a professional photograph restoration service also provides consistent and lasting results. They use specialized software and proven techniques for the best outcome. You can trust them to handle old or fragile photos safely. Ask for samples or portfolios to find a reliable service provider. Working with an expert can turn even the most damaged photos into beautiful keepsakes. With professional help, your restored images can shine for many years to come.
Conclusion
Restoring old photos is more than simple editing; it’s about reviving treasured memories that deserve to be remembered. With proper techniques and care, even faded pictures can regain their charm and clarity. A trusted photograph restoration service helps preserve history, emotions, and family stories for future generations. If you restore photos yourself or hire a professional, every effort helps keep those special moments alive. What memories would you like to restore next? Share your thoughts and experiences in the comments below, we’d love to hear!
