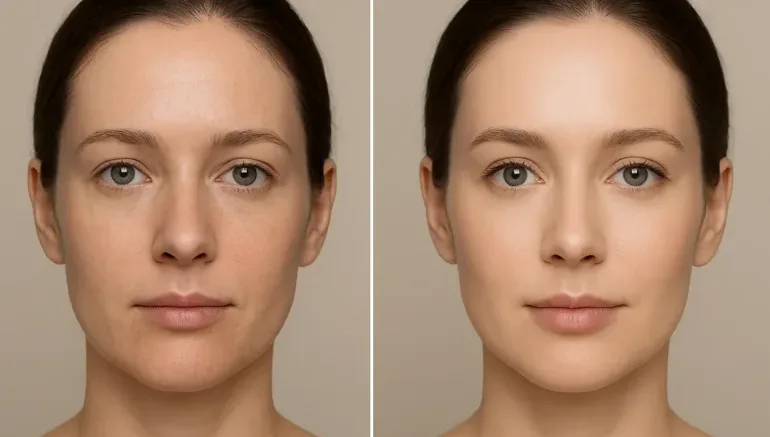
When it comes to photo editing, face retouching plays a big role in making portraits look polished and professional. If you’re a beginner or a skilled editor, knowing the right techniques can help you achieve a flawless yet natural look. Retouching isn’t about changing someone’s appearance completely; it’s about improving their best features while keeping the photo real and balanced. With the right steps, you can remove small imperfections, smooth out skin, and bring out a person’s true glow effortlessly.
In this guide, we’ll walk you through 8 tips for a professional face retouching workflow that can make your editing process faster and more effective. Each tip focuses on simple yet effective ways to improve your workflow without over-editing. From lighting and skin tone to the final review, these steps will help you create clean, natural portraits every time. If you’re ready to take your retouching skills to the next level, let’s get started with this easy guide to face retouching for impressive results.
Start with a Clean and Clear Base
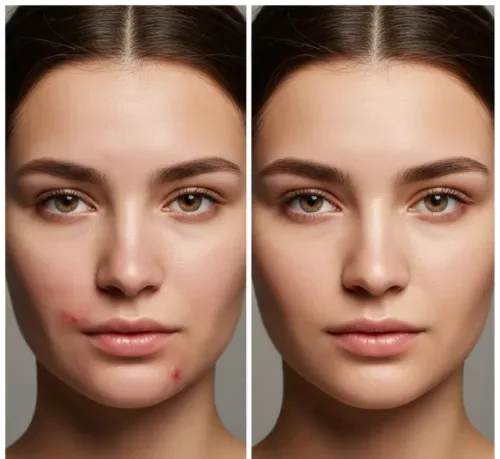
A smooth face retouching process always begins with a clean and clear base. Before you jump into editing, make sure your photo is properly prepared. This means working with a high-quality image that has good lighting and focus. Cleaning up small distractions like dust spots, blemishes, or stray hairs first will save you time later in the process. By starting with a neat base, you can retouch skin tones and details more accurately.
Here are a few simple tips to help you prepare your image before editing:
- Use a high-resolution photo – It gives you more control and detail during retouching.
- Remove small distractions early – Fix blemishes, dust, or flyaway hairs before you start smoothing skin.
- Check the lighting and exposure – Adjust brightness and contrast to make details more visible.
- Organize your layers – Keep your edits on separate layers so you can make easy adjustments later.
- Save a backup of the original image – Always have a copy in case you need to start over or compare results.
Use Natural Lighting to Your Advantage
Natural lighting is one of the most important elements in face retouching. Good lighting makes editing easier by showing true skin tones and fine details. It softens shadows, reduces glare, and adds a natural glow. When a photo uses balanced natural light, heavy editing or artificial corrections become unnecessary. This keeps your portrait looking fresh, real, and lively.

Here are some simple tips to make the most out of natural lighting:
- Shoot near windows or open spaces – Soft daylight gives even lighting and gentle shadows.
- Avoid direct sunlight – It can cause harsh highlights and make the skin look too radiant.
- Use reflectors or white surfaces – They help bounce light and reduce dark areas on the face.
- Edit under consistent lighting conditions – Make sure your screen brightness matches the photo’s tone.
- Keep skin tones natural – Don’t over-brighten; aim for a soft, realistic finish.
Keep Skin Texture Realistic
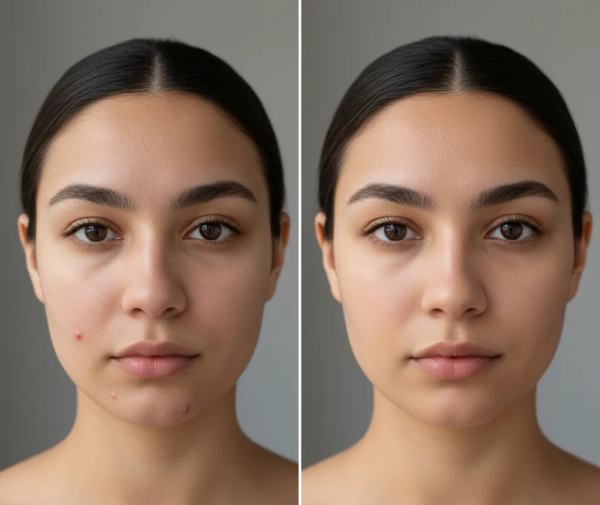
One common face retouching mistake is over-smoothing skin, making it look flat or plastic. Removing every imperfection is tempting. Keeping natural skin texture makes a portrait look real and professional. The goal is enhancing skin, not making it perfect. Preserving texture keeps the photo lifelike and appealing. Using gentle, careful editing achieves a clean, natural look.
Here are a few helpful tips to keep the skin texture realistic:
- Use frequency separation tools wisely – They help smooth skin while keeping fine details intact.
- Lower the opacity of your retouching layer – This keeps edits soft and more natural.
- Zoom in and out often – Check how your edits look both up close and from a distance.
- Avoid strong blur filters – They can erase natural texture and make the skin look fake.
- Retouch with a light hand – Focus only on small flaws like pimples or uneven spots.
Balance Skin Tone and Color
Balancing skin tone and color is a key step in creating a natural and professional face retouching result. Uneven tones can happen due to lighting, camera settings, or natural skin variations. The goal is to even out these areas without making the skin look too pale or dull. A well-balanced tone brings warmth and life to the portrait while keeping it realistic. By paying attention to color balance, you make the face look fresh, smooth, and visually pleasing.
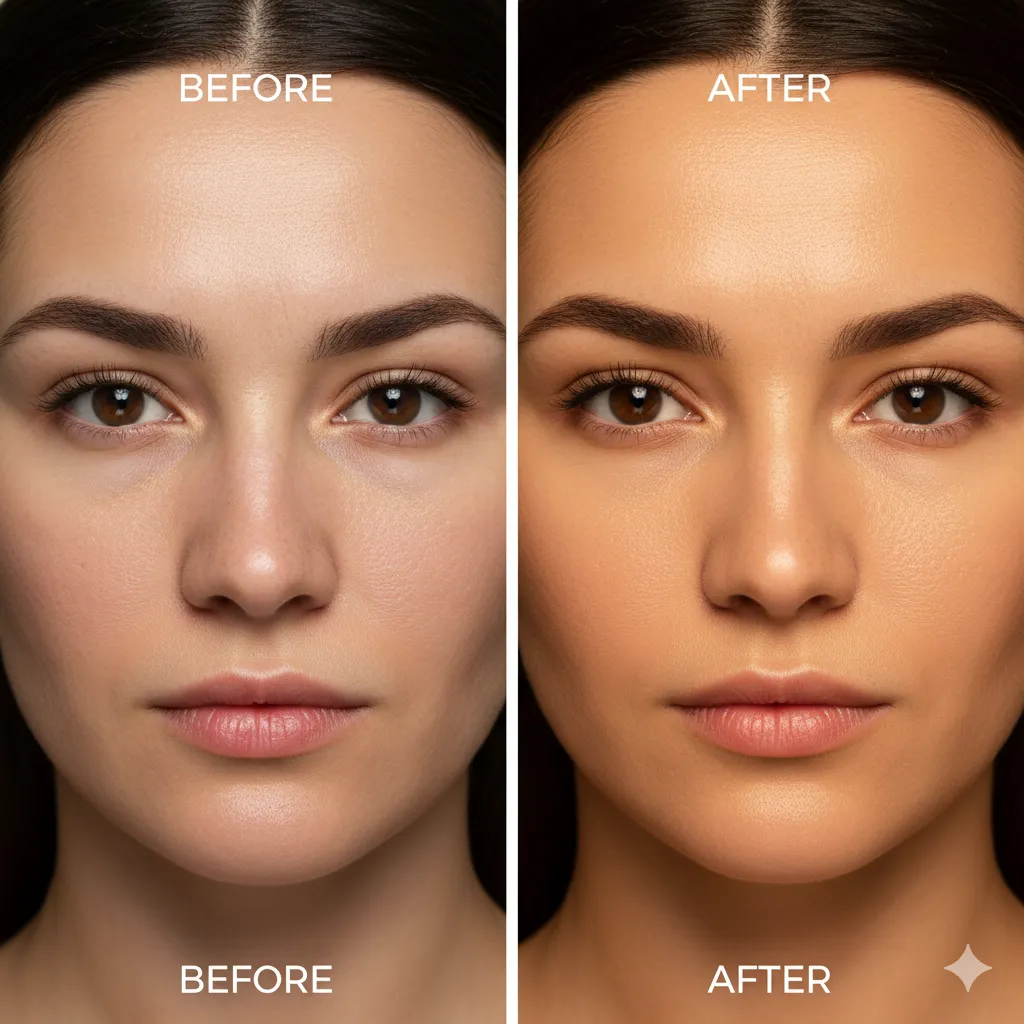
Here are some helpful tips to balance skin tone and color effectively:
- Use color correction tools – Adjust hue, saturation, and brightness to fix uneven tones.
- Work with soft brushes – Apply adjustments gradually for a smoother blend.
- Check your white balance – Make sure the photo doesn’t look too warm or too cool.
- Compare with natural skin references – Match your edit to real skin shades for accuracy.
- Avoid over-editing – Too much color correction can make the skin look fake or flat.
Brighten the Eyes and Smile
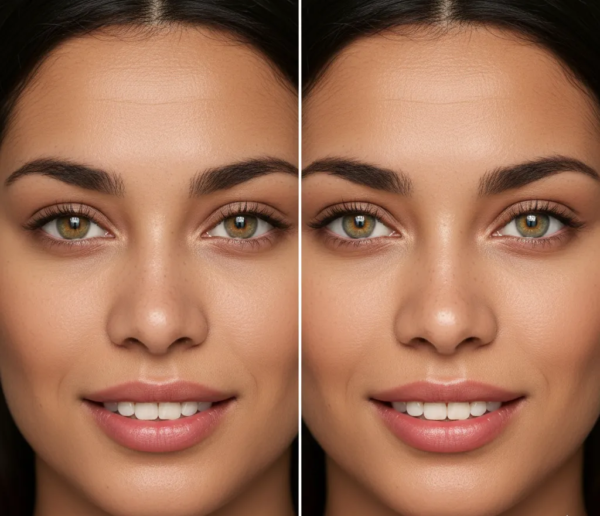
The eyes and smile are key features that bring life to a portrait. Radiant, natural eyes make the image more engaging. Improving them doesn’t mean making them unnaturally white or shiny. Gentle adjustments draw attention in the right way. Small edits like brightness, contrast, or clarity make eyes sparkle and smiles more inviting. The right balance improves emotion and connection.
Here are a few easy tips to brighten the eyes and smile naturally:
- Increase brightness slightly – Add gentle light to the eyes and teeth for a clean, healthy look.
- Avoid pure white tones – Keep a bit of natural color to prevent a fake appearance.
- Sharpen the eyes carefully – This adds definition and makes them stand out.
- Reduce redness or dark shadows – Lighten under-eye circles and gum tones for a fresher feel.
- Add fine highlights – A small touch of light reflection can make the eyes look livelier.
Manage Shadows and Highlights
Shadows and highlights shape a photo’s mood and depth. Proper use brings out facial details and balance. Too many shadows dull the face, while harsh highlights wash out features. The goal is harmony between light and dark, keeping the image natural. A balanced photo looks softer, clearer, and more professional.

Here are some simple tips to manage shadows and highlights effectively:
- Use adjustment tools gently – Avoid pushing brightness or contrast too far.
- Brighten dark areas slightly – Reveal hidden details without losing natural depth.
- Tone down strong highlights – Reduce overexposed spots that take attention away from the face.
- Check your image on different screens – Make sure lighting looks balanced everywhere.
- Use dodge and burn tools carefully – Add fine depth where needed for a realistic finish.
Use Layer Masks for Precision
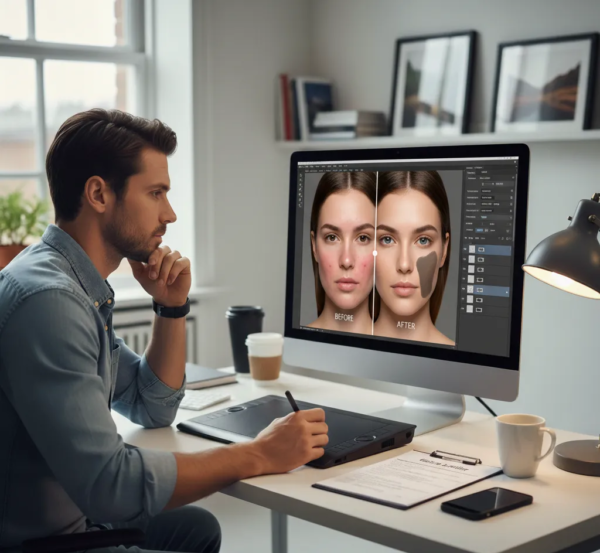
Layer masks are one of the best tools for making clean and controlled edits. They allow you to apply changes only to specific parts of an image without affecting the rest. This gives you the freedom to fix small areas like blemishes, lighting, or color without damaging the original photo. Using layer masks also keeps your workflow flexible, since you can easily adjust or remove edits anytime. It’s a smart way to stay precise and keep your work looking natural and polished.
Here are a few helpful tips to use layer masks effectively:
- Work with a soft brush – It helps blend edits smoothly with the rest of the photo.
- Adjust brush opacity – Lower settings give you better control over how strong each edit appears.
- Zoom in for detailed areas – This makes it easier to target small imperfections.
- Keep layers organized – Label each one clearly so you can track your changes easily.
- Use non-destructive editing – Always keep your original photo untouched for flexibility.
Review Your Work Before Saving
Before saving your final image, it’s important to take a few moments to review your work carefully. This final check allows you to spot small mistakes or areas that may need a little adjustment. Sometimes, edits can look perfect up close but appear too strong or uneven when viewed at full size. Taking a step back helps you see the image as a whole and secures everything looks natural.
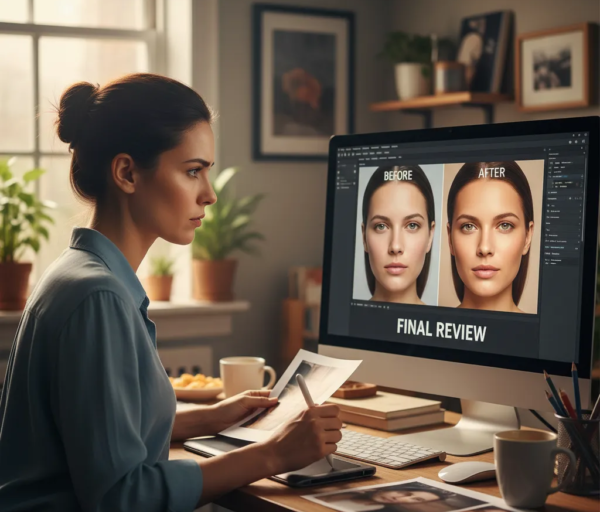
Here are a few helpful tips when reviewing your work before saving:
- Zoom out and view the entire image – Make sure all edits blend smoothly together.
- Compare with the original version – Check if you’ve improved the image without losing its natural look.
- Take short breaks before reviewing – A fresh set of eyes helps you notice small details you might’ve missed.
- Check lighting and color consistency – Make sure the tones look even and balanced.
- Save in multiple formats – Keep one editable version and one ready-to-use file for sharing or printing.
Conclusion
Every great photo edit ends with a careful touch and a creative eye. By following these tips, you can create portraits that look clean, natural, and full of life. Remember, practice and patience are key to improving your editing skills over time. Don’t rush, take the time to explore different techniques and find what works best for your style. Now that you’ve learned these professional tips, we’d love to hear from you! Which editing step do you find most challenging or enjoyable? Share your thoughts in the comments below!
Read Next: How to Use AI Editing Without Losing the Human Touch
